Occasionally, it is useful to dimension from the point of a rounded corner in order to realize the true length of your part. With simple geometries, virtual sharps aren’t entirely necessary however with more complicated geometries, virtual sharps can prove very useful.
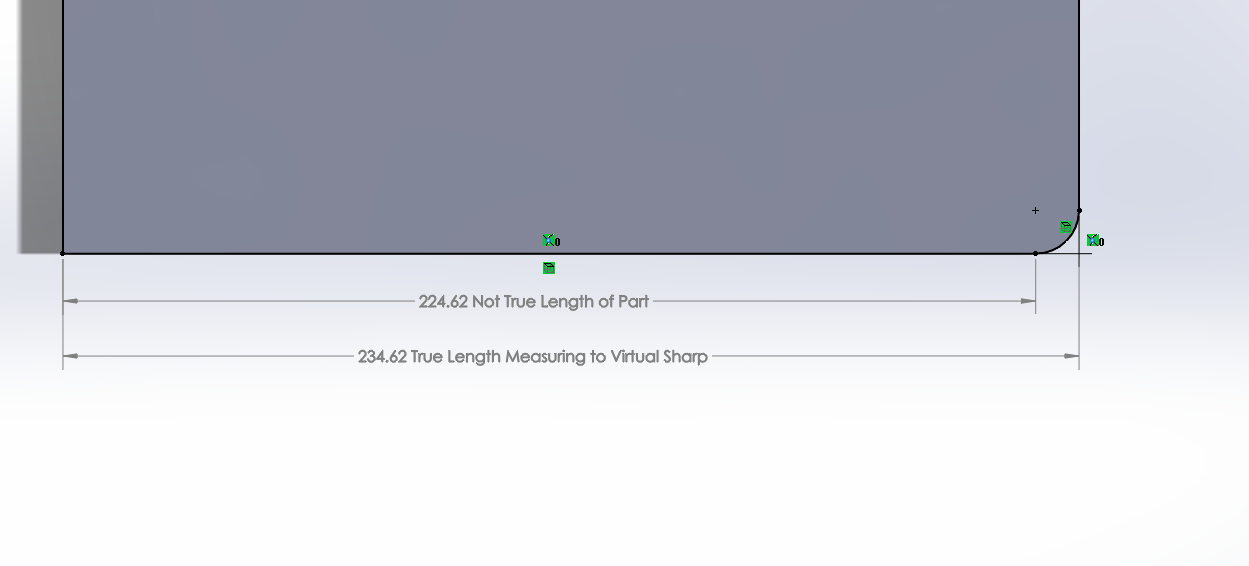
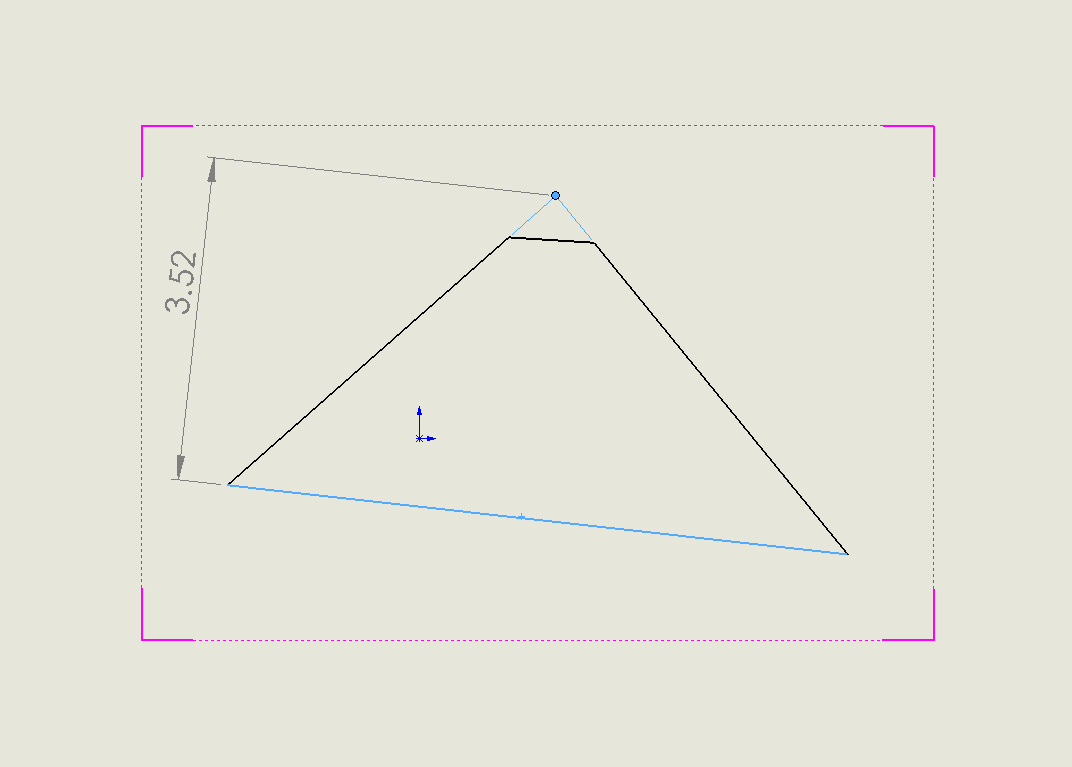
Virtual sharps are essentially virtual intersections of two lines that don’t actually intersect with each other. As such, a virtual sharp is created simply by extending two lines until they DO intersect, where that intersection point is the sharp itself:
To create a virtual sharp, you must first either be in a drawing or in a 2D sketch. Virtual sharps CAN be created in 3D sketches, however, due to the 3-D nature of a 3D sketch, creating one could prove to be more difficult. It is noteworthy to say that you CANNOT create virtual sharps in a part or assembly file from solid edges, only from sketches.
There are two methods for creating a virtual sharp:
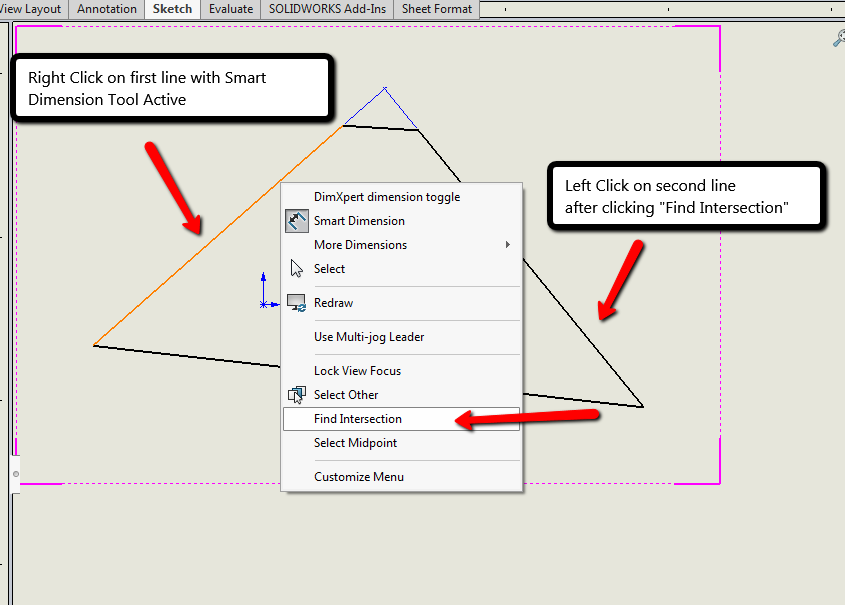
1) Using the Dimension “Find Intersection” Tool.
- Select the “Smart Dimension Tool”
- Right Click on the first edge or line that you wish to use to create your sharp
- Click on “Find Intersection”
- Left Click on the second edge that you wish to use to create your sharp
2) Using the “Point” Tool
- Select both edges that you wish to use to create the sharp by using the SHIFT or CTRL key
- Navigate to the “Sketch” Tab in your Command Manager
- Click on “Point”

If you would like to change the appearance of your Virtual Sharps, you can do that from the document properties under “Virtual Sharps”:
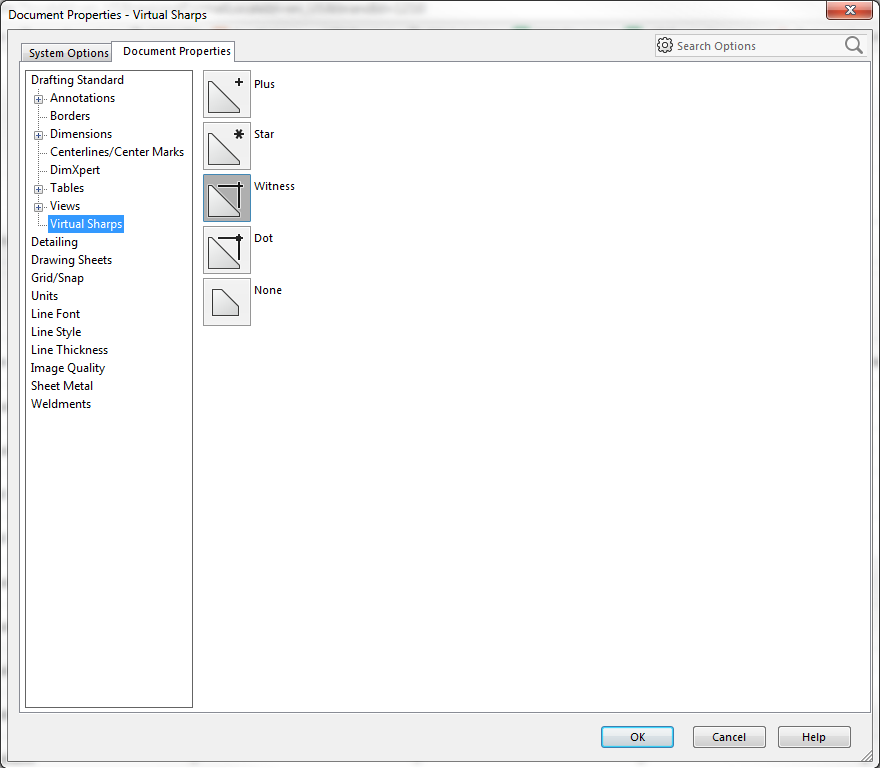
Here you can change the appearance of your Virtual Sharp to a Plus sign, an Asterisk (the same symbol as a point), a Witness, Dot with leader lines, or you can turn off Virtual Sharps completely.
If you find that you cannot create a virtual sharp through any of the methods listed above, please contact Hawk Ridge Systems Technical Support at 877.266.4469 (US) or 866.587.6803 (Canada) or email us at support@hawkridgesys.com
Comments
Article is closed for comments.