
Problem
This article goes over how to configure the SOLIDWORKS Toolbox to apply a Material to Toolbox Components. SOLIDWORKS Toolbox components do not have a material applied to them by default.
Solution
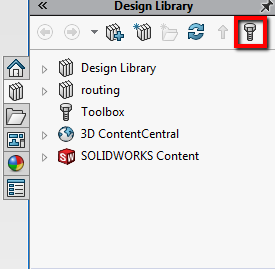
- Open up the Toolbox Settings by going to Windows Start Menu > All Programs > SolidWorks >SolidWorks Tools > Toolbox Settings or by clicking on the Configure Toolbox button (Screw Icon) in the Design Library
- Click on Step 2. Customize your hardware
- Create a Custom Property by clicking on the button shown below in the Custom Properties Section
- In the Custom Property Definition, be sure to input the Property Name, such as "Material".
- Change the Property Type from Textbox to List so the option "Link to SOLIDWORKS material" checkbox appears
- Check the box for Link to SOLIDWORKS material
- A value for a material can now be added in the Text/Expression of the custom property for the toolbox component. Multiple materials can be listed as shown below.
- Click OK to close out of the dialogue box
- Browse to the folder level or toolbox part to apply a material to
- Click the checkbox for "Material" under the Custom Properties Section to enable the custom material and click on the radio button to select the default material to be applied
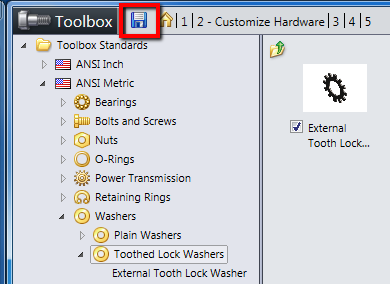
- After applying the material, save the toolbox settings by clicking the save icon. Note: This will take several minutes to save.
After making these changes, we can see that the toolbox component will have a material applied when inserted into an assembly. When inserting the component into an assembly, the materials are available to be selected as shown below.
When opening the component from the assembly, we can see the default material applied to the model, as well as the custom property for this material.
For additional support, existing customers can submit a ticket or new customers can contact Hawk Ridge Systems.
Comments
Article is closed for comments.